Invite users and manage facility access
Add new staff to a facility, assign the correct role, and — for larger cohorts — run a bulk upload.
Before you start
- You need the
adminorsuperadminrole. - Roles must already be configured in Organization Role Config before you assign them. See Role Config.
- For bulk upload, prepare a CSV using the template described in Data Import & Export.
Add a user
- Select the correct facility in the Organization Selector.
- Navigate to HR & Compliance in the sidebar.
- Open New Employee Onboarding (to create a new user) or Facility Users (to manage existing access).
- In the Create/Edit User form, complete the fields:
| Field | Notes |
|---|---|
| First Name, Last Name, Email | Required; email must be unique per organization |
| Phone, Date of Birth, Home Address | Optional |
| Role | From the roles seeded in Organization Role Config |
| Facility Assignment | Multi-select — a user can be assigned to more than one facility in a single save |
| Training Status | Not Started / In Progress / Completed |
- For clinical roles (clinician and provider profession titles such as NP, PA, MD, DO, RN), additional provider fields appear — Profession Title, NPI, and related credential fields. These are hidden for non-clinical roles.
- Save. The user is created across all assigned facilities and receives an invite email to set their password.
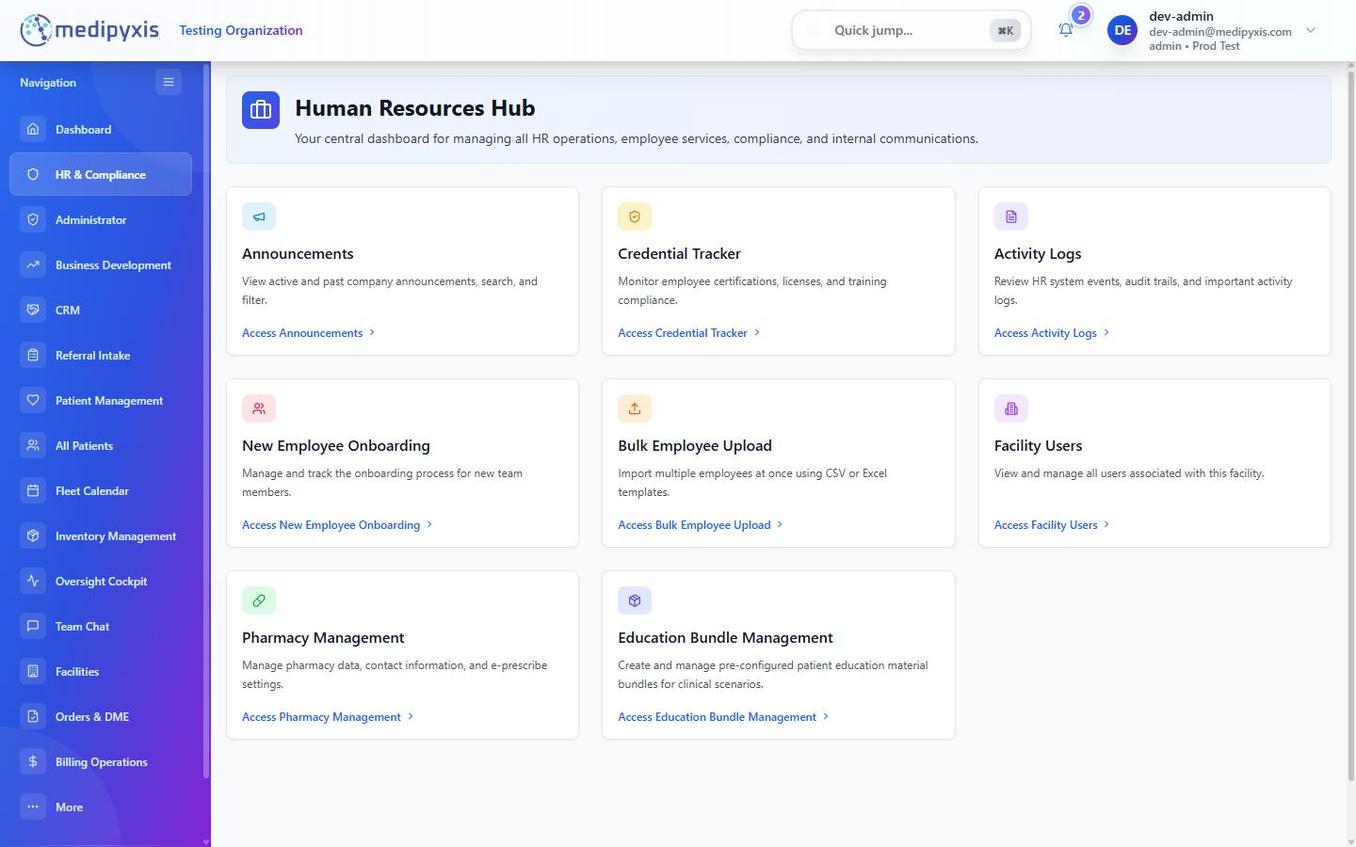 The HR & Compliance hub. Use Facility Users to manage access for existing staff, and New Employee Onboarding to create a new user.
Assign or change a role after invite
- Navigate to HR & Compliance → Facility Users.
- Find the user by name or email using the search field.
- Click Edit next to their row.
- Change the Role dropdown and click Save.
admin, they lose access to HR & Compliance and Administrator screens.
Bulk Employee Upload
When onboarding a large cohort, use Bulk Employee Upload rather than inviting users one by one.
- Navigate to HR & Compliance → Bulk Employee Upload.
- Download the CSV Template from the upload panel.
- Populate the template. Recognized columns include
first name,last name,email,role(required), plus optionalphone,facility assignment, and provider fields (provider_first_name,provider_last_name,provider_print_name,provider_initials). Multiple facilities can be assigned in one create. - Upload the completed CSV.
- The system previews a validation table — review any rows flagged (typically duplicate email or unknown role).
- Confirm the upload.
See Data Import & Export for the full column spec.
Result
New users appear in Facility Users. Once they set their password, their status becomes active. If a user does not accept, resend the invite from their row.
Troubleshooting
| Symptom | Likely cause | What to do |
|---|---|---|
| Role dropdown is empty | No roles configured yet | Complete Role Config first |
| Invite email not received | Email landed in spam, or typo in address | Check spam; resend or correct the email via Edit |
| "Email already in use" on create | User already exists in the organization | Add the existing user to the facility instead of creating a new record |
| Provider fields (NPI) not showing | Role is not a clinical role | Set a clinical role first; the provider fields then appear |