Track Insurance Verification Requests (IVRs)
Submit and monitor Insurance Verification Requests (IVRs) for high-cost graft products to ensure payer authorization is in place before a product is applied.
Submit and track IVRs for skin substitutes — no more spreadsheets.
Before you start
- The product being ordered must already exist in the Product Catalog with a valid HCPCS code.
- You need the patient's active insurance information and the planned date of service.
- The
vendor_coordinatororpractice_adminrole is required to create and update IVRs.
What is an IVR?
An IVR (Insurance Verification Request) is a prior-authorization record that tracks whether a payer has approved the use of a specific graft product for a specific patient encounter. For biologic and amniotic products, payers commonly require this authorization before the product is applied. Applying without a documented authorization is the most common cause of high-dollar claim denials for graft procedures.
IVR status lifecycle
IVRs move through the following statuses:
Submitted → Pending → Approved
                   → Declined → Agreed
| Status | Meaning |
|---|---|
Submitted |
The IVR has been filed with the payer. The system records the submission date and the submitting user. |
Pending |
The payer has acknowledged receipt and is reviewing the request. No decision has been issued yet. |
Approved |
The payer has authorized use of the product for this encounter. The product is cleared for application at the planned visit. |
Declined |
The payer has denied the request. Do not apply the product until you have either appealed successfully or moved to Agreed status. |
Agreed |
The patient and provider have agreed to proceed with the product at the patient's financial responsibility after a Declined decision, or the payer has issued a formal agreement letter. This status documents that the financial obligation has been disclosed. |
Approved or Agreed status is your documentation that this step was completed. Do not remove or archive IVR records.
Submit an IVR
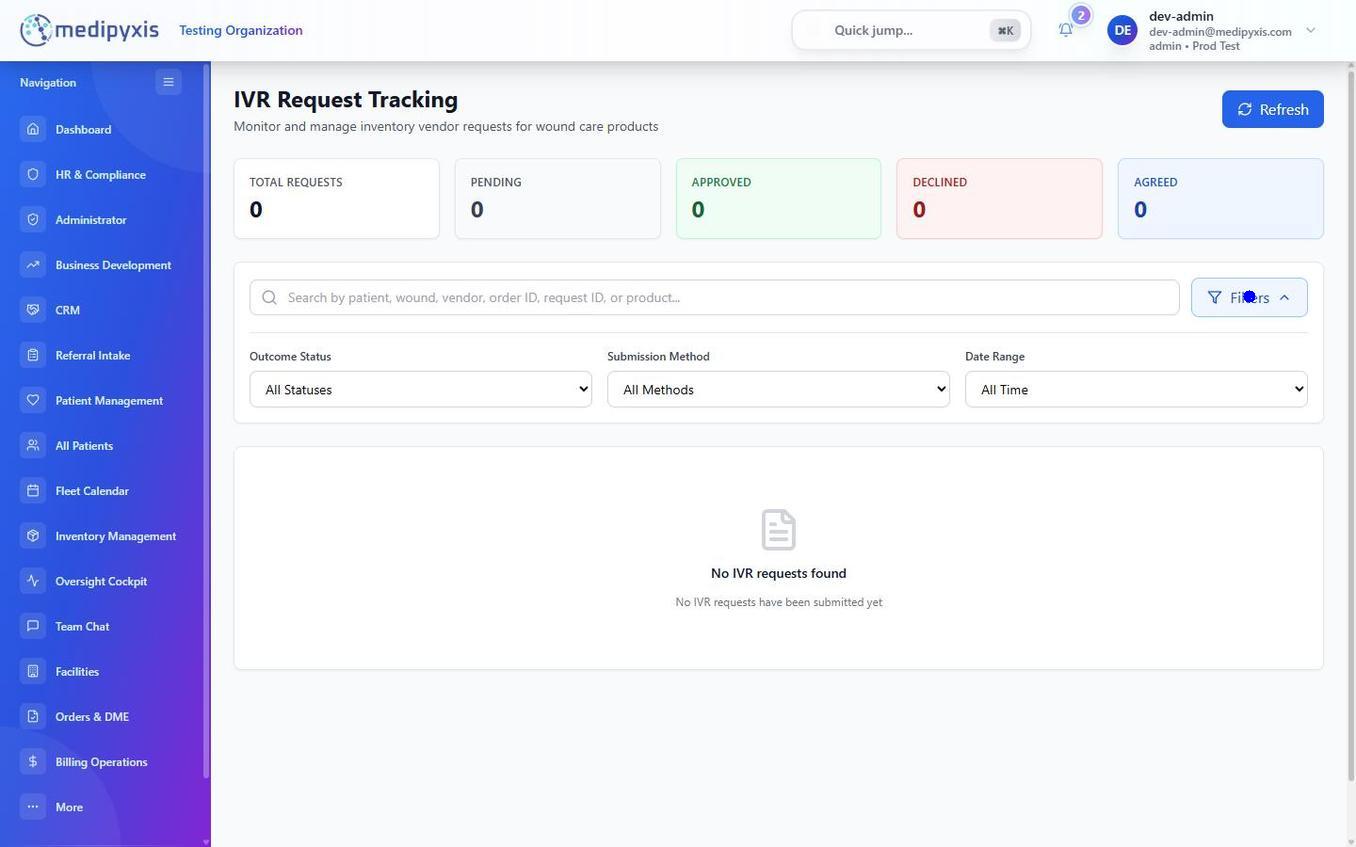
IVR Tracking table. Status badges update as you advance each IVR through the workflow.
-
Open IVR Tracking. From the Inventory Management hub, select IVR Tracking.
-
Create a new IVR. Click New IVR in the upper-right corner of the table.
-
Select the patient. Search by last name or date of birth. Confirm the payer shown matches the patient's active primary coverage.
-
Select the product. Choose from the Product dropdown, which lists only
Activeproducts with a HCPCS code. The HCPCS populates automatically. -
Enter the planned date of service. This is the visit date when you intend to apply the product, not today's date.
-
Attach supporting documentation (if required by the payer). Upload wound photos, measurement records, or clinical notes using Attach Documents.
-
Submit. Click Submit IVR. The record is created with status
Submittedand a timestamp.
Advance an IVR through its lifecycle
-
Mark as Pending. When the payer acknowledges receipt, open the IVR record and change the status to
Pending. Enter the payer's reference number if one was issued. -
Record the payer decision. When the payer responds: - If approved: set status to
Approved. Enter the authorization number provided by the payer. The product is now cleared for use at the scheduled visit. - If declined: set status toDeclined. Document the denial reason in the Notes field. -
Handle a Declined IVR. You have two options: - Appeal — Contact the payer and resubmit with additional clinical documentation. Update notes to reflect the appeal date and contact. The status remains
Declinedduring appeal unless the payer reverses toApproved. - Agreed — If the patient consents to self-pay or the provider accepts financial responsibility, set status toAgreedand document the disclosure in Notes.
Result
Each IVR record provides an auditable trail from submission to final disposition. When a clinician opens the Visit Wizard for a patient with an Approved or Agreed IVR, the associated product is highlighted at step 13 (Procedure Supplies) to confirm authorization is on file.
Pending.
Troubleshooting
| Symptom | Likely cause | What to do |
|---|---|---|
| Product not visible in the IVR product dropdown | Product is Inactive or has no HCPCS code |
Go to Product Catalog, confirm the product is Active and has a HCPCS code |
Cannot advance status from Declined to Approved |
Payer has not issued a reversal | Use the Notes field to document the appeal and wait for the payer to issue a formal approval |
| IVR shows no patient insurance | Patient's coverage record is missing or expired | Update the patient's insurance in the patient management module before returning to IVR Tracking |
Related
Auto-rendered from related: in frontmatter.